Documents
Crop the Output Signal
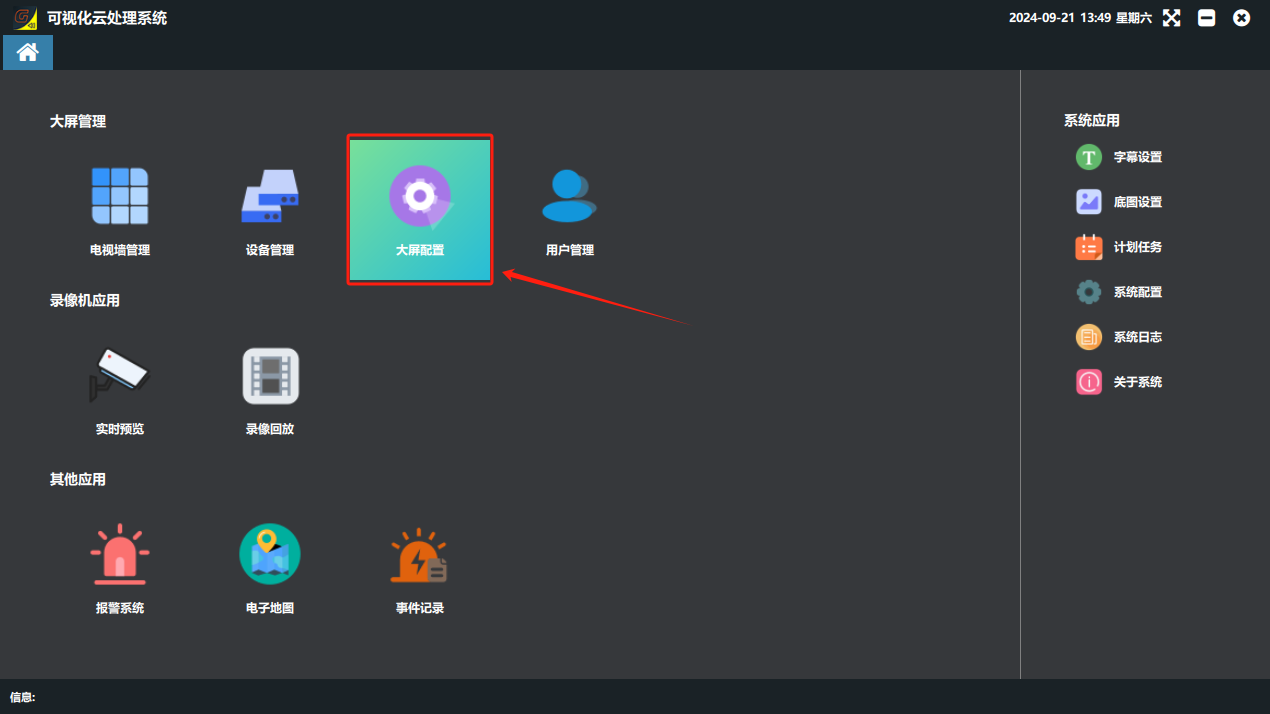
② Click the “Video Wall Configuration” button in the software.
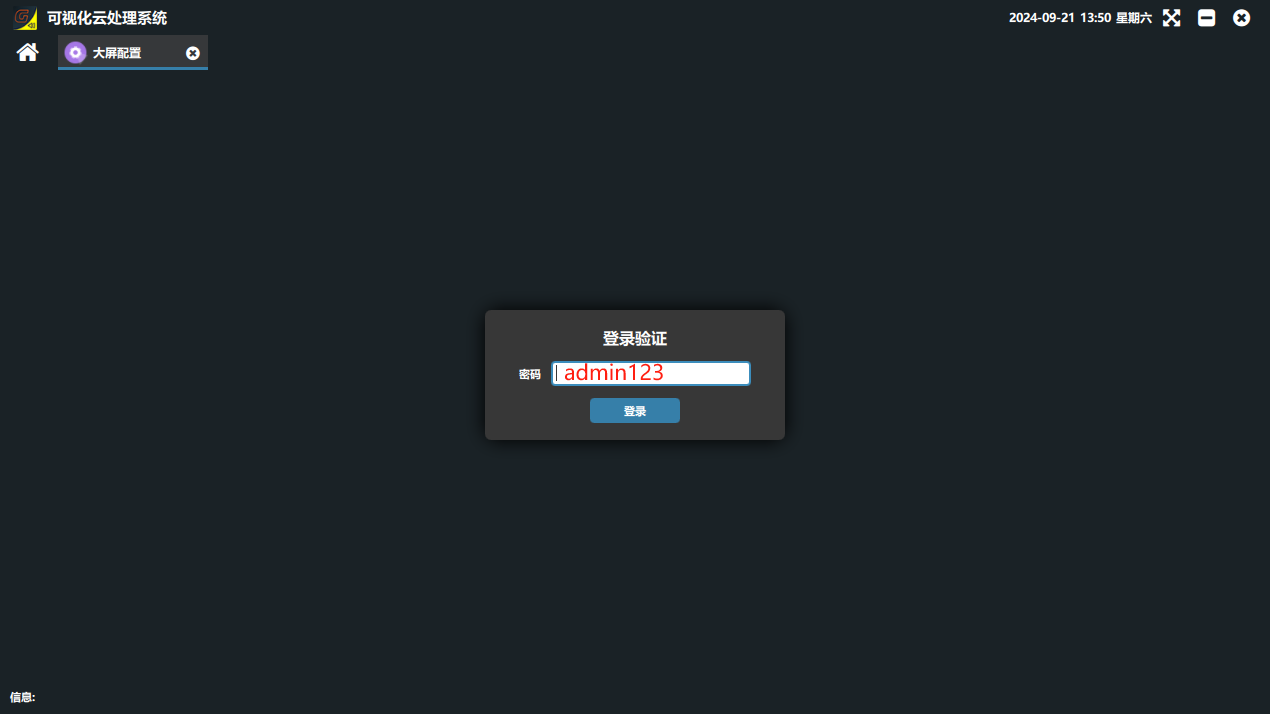
③ Configuration tool login password: admin123
③ In the configuration tool, first select the main control device and read it, then click Crop Settings; the top, bottom, left and right pixel offsets read back are now displayed.
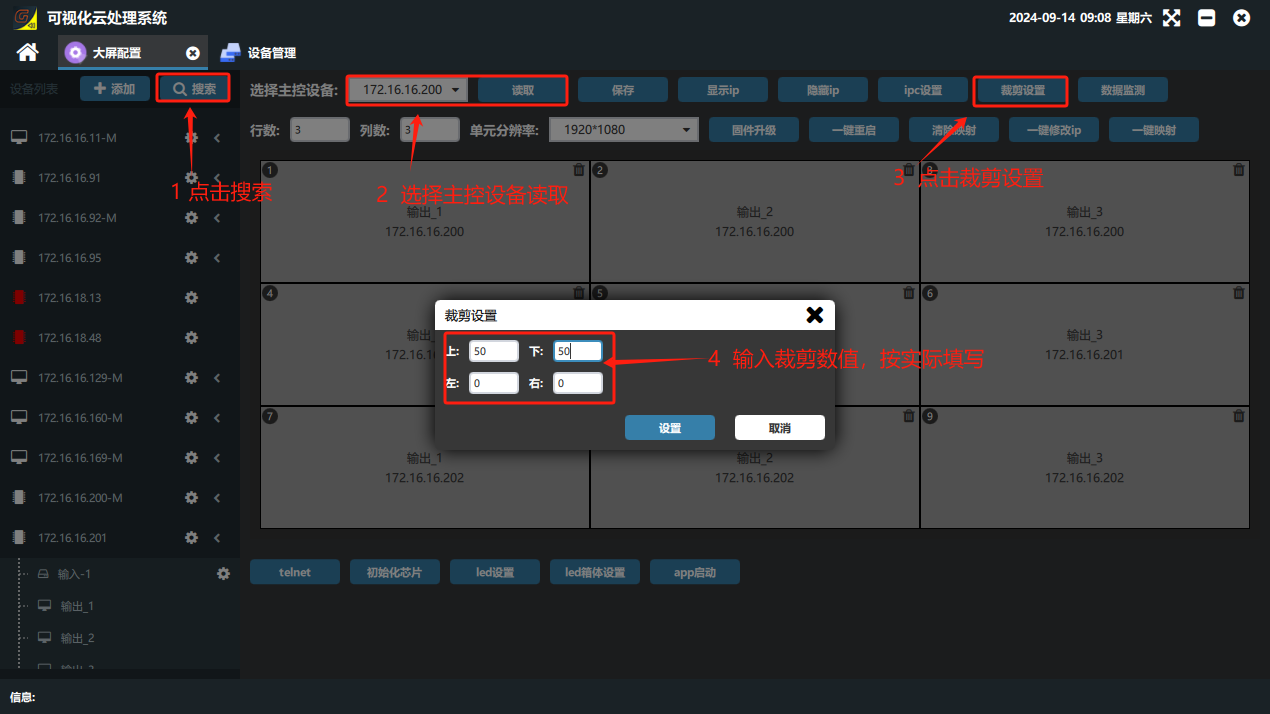
④ Enter the pixels to move according to the visual result. For example, with the settings below, the image on the video wall shifts 50 pixels up, down, left and right and is displayed in the center.
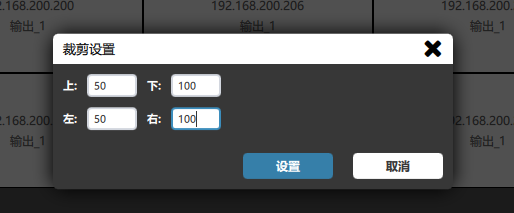
If top, bottom, left and right are all set to 50, the image is displayed toward the bottom right.
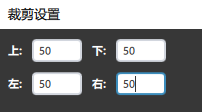
⑤ After entering the values, click Set and it takes effect immediately; there is no need to click Save. Then restart the board and drag the image up again. Note!!! the visualization software must be reopened before dragging an image for display.
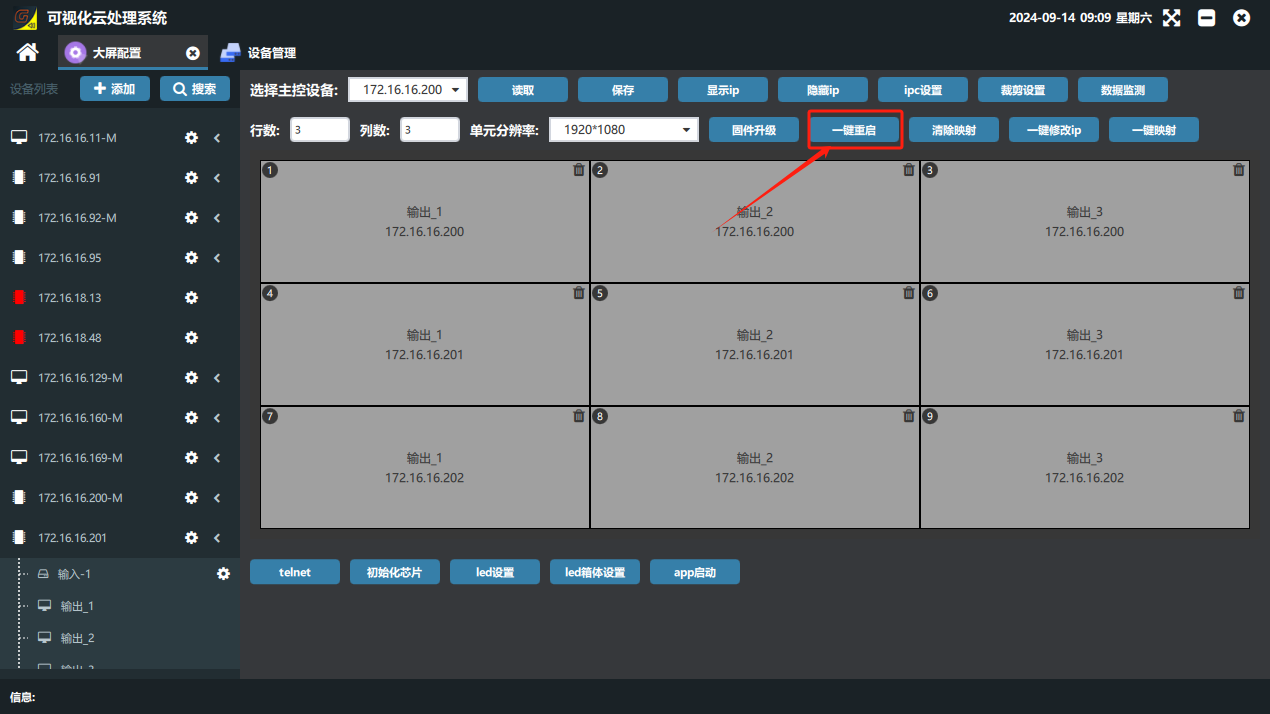
⑥ Recommendation: for the first commissioning, set arbitrary values to see the effect; once the image visibly changes and takes effect, tune it according to the actual display.
Did this page help you?One line of feedback helps us keep the steps accurate.